On January 24, 2015, I posted two Cyber Grape phenos that I photographed for Cannabis Family Seeds.
I ended up bringing pheno “A” home with me to do a photo series to document the drying process that medical marijuana goes through after it is cut down. Big thanks to Marty for throwing out the photo series idea to me!
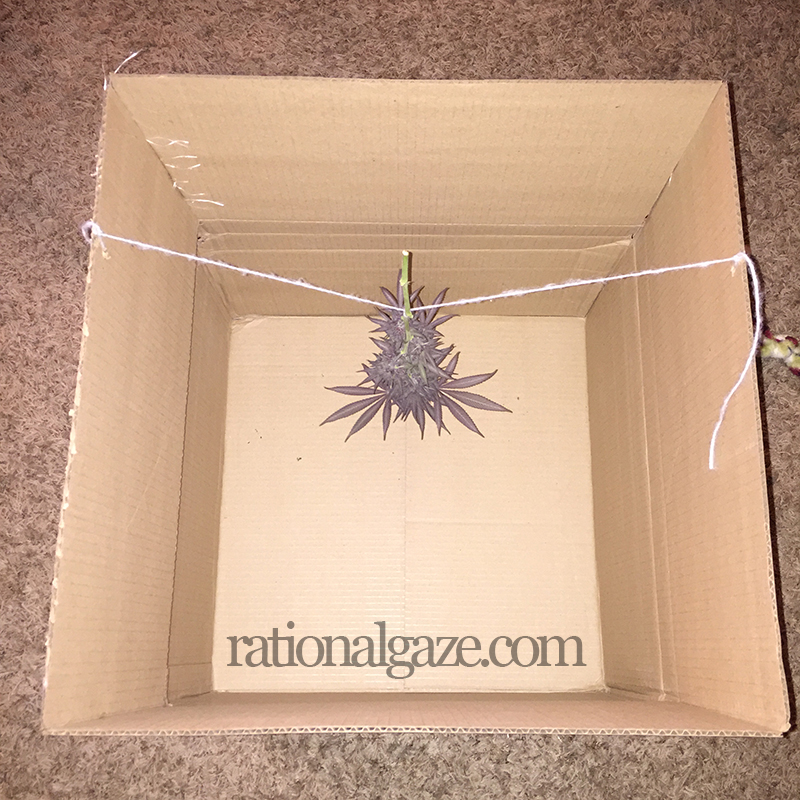
Below is a photo of pheno “A” before it was transported back to my house.

The first big obstacle was getting one of the stalks transported back to my house, without it laying down on anything and changing the look of it. I wanted to make sure that it was untouched, so I ended up coming up with the idea to suspend it in the air with yarn in a large cardboard box.
Once I arrived at my house, I was able to take the box into the house to get the stalk out and place it somewhere safe. I ended up placing it in a tall water glass, which I ended up using throughout the photo series to prop the stalk up.
Having never done a photo series before, let alone one like this, I didn’t really know how to go about it. I did know that I wanted to take the photo each day around the same time so each photo would be spaced 24 hours apart though.
The next day, at around 8:30 PM Eastern (24 hours after it was cut down), is when I took the first photo for the series. While I was shooting, I realized that I would need to make sure that I took all of the photos at the exact same angle. That meant the external flash on it’s stand, the camera, and the stalk needed to stay in the exact same location throughout the series. Along with that, the flash needed to stay at it’s 1/8 power setting throughout the series along with the camera needing to stay set at the same setting (400 ISO, 1/250 sec @Â Æ’/13)
To make sure each photo was taken at the same angle, I left each round of photos on the memory card so I could flip back and forth between each to make sure I was capturing them as close as possible to the previous round of photos.
Doing it this way helped out a lot because it made arranging each of the photos in the final photo series set quite easy.
The one big thing I learned is to make sure everything stays in their exact locations throughout the photo series in order to have a flawless end result. In this case, I moved the stalk every night because I didn’t want our cat to touch it. In doing that, you can see the movement in each image in the animated gif below. I also didn’t mark the floor where the external flash stand was for the first photo. The stand ended up getting moved by my daughter between the first and second photo, but the difference in flash location is unnoticeable.
I ended up taking 1 photo per day between 8:30 PM Eastern and 9:00 PM Eastern, for 9 days.
On the 9th day, I decided to give it a nice trimming so it could show itself off.

CLICK HERE to view the high resolution version of the photo as the small version above doesn’t do it justice.
Below is an animated gif showing the change over the 9 days since it is hard to see the change in the photo above.