I have been wanting to do this photo documentary for quite some time now, I just hadn’t been able to get it on the schedule. The stars finally aligned though, and I was able to capture Zach from Urbanrest Brewing Company test the new pilot system he just got done building. A saison was chosen as the first brew.
Zach had tested the pilot system out the night before the actual brew day with only water to make sure everything was working. All tests were successful, which was the OK to proceed with brewing a beer in it the following morning. I arrived shortly after 10:00 AM to find Zach and Jeff setting the system up to start heating up the water for the first step in the brewing process. Mashing, or mash in.


Switch on. Switch off.


It was at that point that the first issue arose with the propane burners not burning efficiently with the vessels on top of them. Changing/modifying the flow of the propane didn’t do much, but it ended up helping enough so we could actually begin. With that out of the way, water was added to the Hot Liquor Tank so it could start heating up to approximately 165°F.

FIRE!!!!!!!!

Jeff and Zach analyzing the burner situation
Once the mash liquor (hot water) reached temperature, it was pumped out of the Hot Liquor tank and into the Mash Tun and combined with a blend of Belgian Pilsner malt, wheat, oats and acidulated malt. The Mash Tun was brought up to approx 151-153°F (mash temperature) and set to rest for 60 minutes. This process, similar to making oatmeal, converts complex sugar in to simple sugar, which yeast can then eat to produce ethanol and CO2.

John F. unboxing the grains

John F. dumping grain into the Mash Tun


Zach getting his stir on
The last sub-step in the mashing process is sparging, rinsing the remaining sugars from the grain bed. Water was heated to sparge temp 170°F in the Hot Liquor Tank, then sprinkled over the grains in the Mash Tun while the sugary wort is being transferred in to the Boil Kettle.
With the wort now in the Boil Kettle, it was brought to a boil, at which point the hops were then added at various intervals. This specific brew called for 4 additions of Jarrylo hops at 30 minutes, 20, 10 and 1 minute left for a total boil time of 75 minutes.

That pinky though…
After the boil, it is time to chill the wort down to approximately 65°F so the yeast can begin to replicate as they voraciously eat sugar and convert it to ethanol and CO2. A fast chilling process also helps eliminate the production of bacteria and ward off contamination. The chilling is done by pumping the boiling wort out of the kettle, through the plate chiller, back up through the lid and back into the kettle. Chilling the wort from 212°F down to 65°F took 30 minutes.

While the wort was chilling, Zach prepared the fermentation vessels with sanitizer. These carboys are the fermentation vessels that the wort would be transferred into prior to the yeast being pitched.

Swish, swish, swish

After the chilled wort was transferred into the fermentation vessels, Zach pitched a different yeast into each. The first one was a classic Saison strain, a yeast that Zach uses in many of his brews. The other fermenter was pitched with Brettanomyces Trois, a “wild†yeast strain, in order to explore the many different nuances yeast strain selection can bring out in a beer.

Prepping to pump the chilled wort into the fermentation vessel

Chilled wort in the fermentation vessel

Oxygenating the chilled wort

Pitching the classic saison yeast

Pitching the Brettanomyces Trois yeast
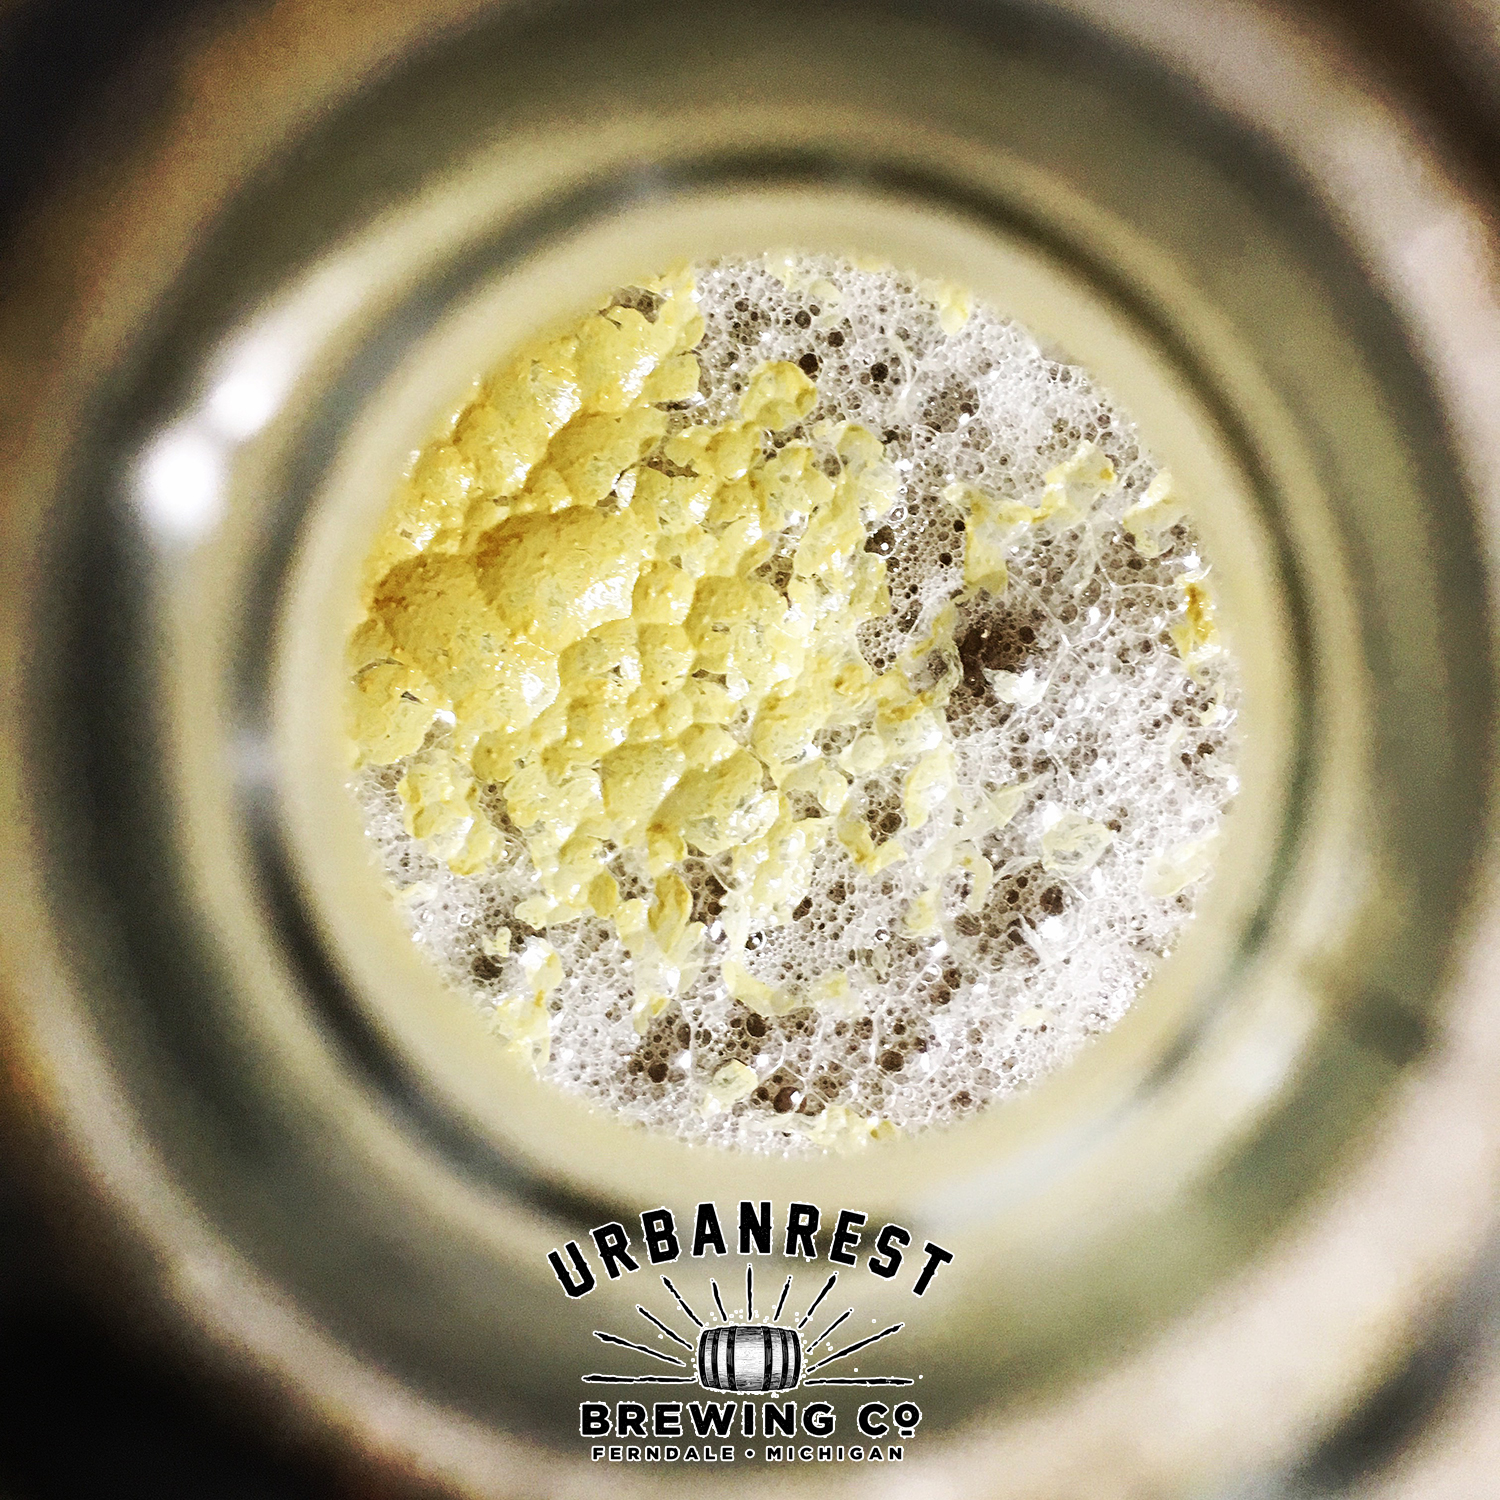
Zach provided the following photo of one of the fermentation vessels showing the fermentation activity less than 24 hours after the yeast was pitched.

As with any shoot, there are additional photos that make the cut, but don’t necessarily fit into the article. Below are 10 additional photos for your viewing pleasure.

Analog temperature gauge

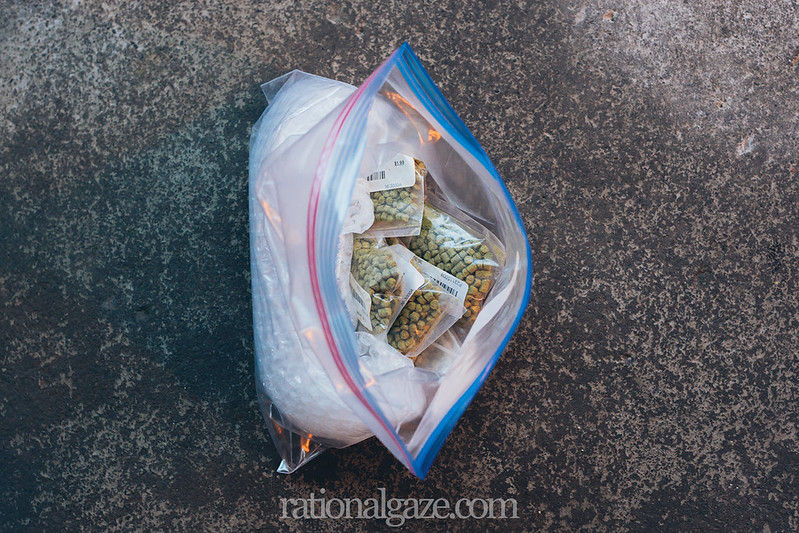
Bag o’ hops

Teeny, tiny leak

Serious Zach is serious


Taking digital notes

Double Crooked Tree out of a coffee cup

John F. getting a steam facial

Smiles all around

The first gravity reading


